Reilly Method Vs Triangulation Method of Portrait Drawing

If you want to draw realistic portraits, you need to master the skills of measuring and proportioning. Two methods that can help you achieve this are the Reilly Method and the Triangulation Method. In this blog post, we will explain what these methods are and how to use them.
Reilly Method:
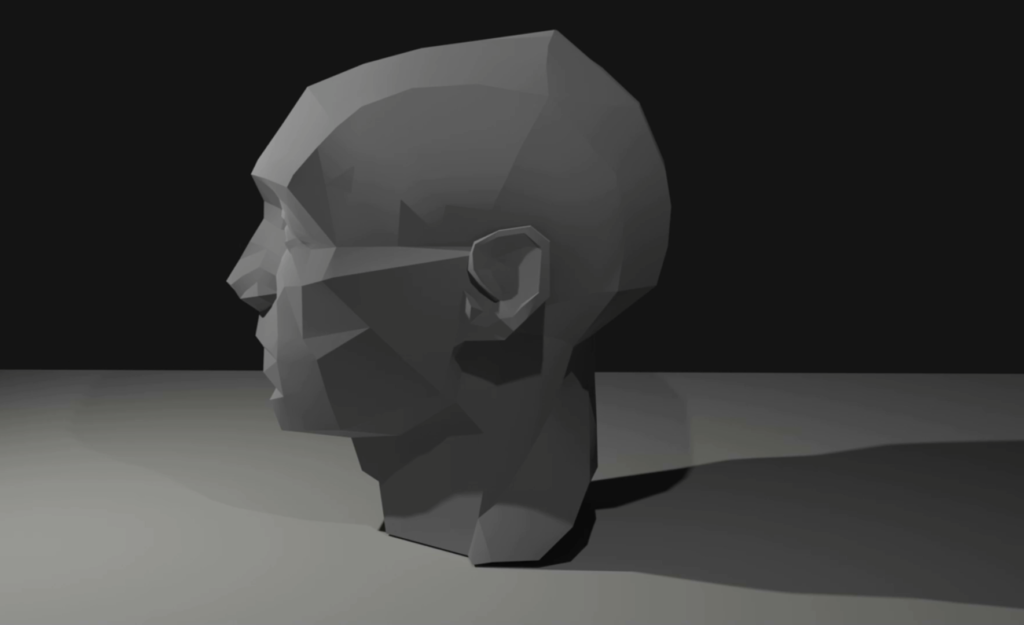
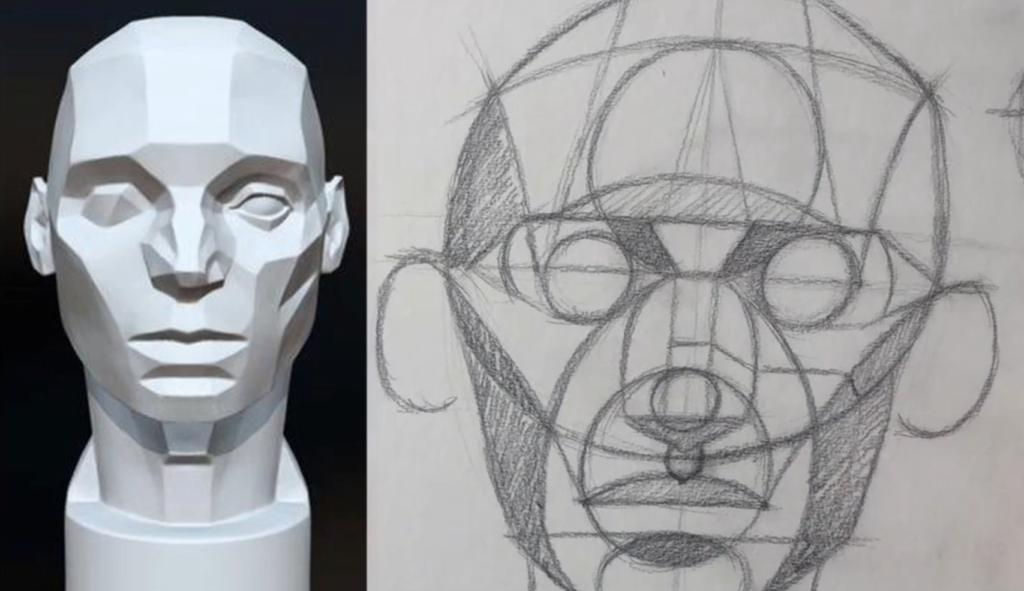
The Reilly Method is a technique that was created by Frank J. Reilly, a famous illustrator and teacher. The Reilly Method simplifies the head into abstract shapes called “Rhythms.” These shapes show the main planes and masses of the head. The main steps of the Reilly Method are:
Abstraction of the Head:
Divide the head into simple, abstract shapes that represent the major rhythms, such as the brow line, cheekbones, and jawline. Emphasize the major rhythms and how they relate to each other.
Cross Contour Lines:
Draw cross-contour lines that follow the curves and contours of the rhythms. The cross-contour lines help create a sense of depth and structure.
Use of Angles:
Observe the angles formed by the intersections of the rhythms. The angles help you establish accurate proportions and capture the unique features of the subject.
Construction of Features:
Draw individual features, such as the eyes, nose, and mouth, within the framework of the rhythms. Keep a focus on the overall structure and relationships between features.
Constant Comparison:
Compare different parts of the face constantly to ensure accurate proportions. Use landmarks to refine and adjust your drawing as needed.
Triangulation Method: A Simple Way to Draw Accurate Portraits
If you want to draw realistic portraits, you need to master the skill of measuring proportions. One of the easiest and most effective ways to do this is by using the Triangulation Method. In this blog post, we will explain what the Triangulation Method is and how you can use it to improve your portrait drawing.
What is the Triangulation Method?
The Triangulation Method, also known as the Plumb Line Method, is a technique that uses straight lines to create reference points and proportions on the face. By connecting these points with triangles, you can establish the relationships between different features and their distances from each other. This helps you avoid common mistakes such as drawing the eyes too big, the nose too long, or the mouth too wide.
How to Use the Triangulation Method?
The Triangulation Method is simple and straightforward. Here are the steps you need to follow:
1. Establish Key Points: Identify the key points on the face that you want to use as reference points. These can include the centre of the forehead, the tip of the nose, the chin, and the corners of the eyes. You can use a plumb line (a vertical line) to check the alignment of these points and mark them on your paper.
2. Create Triangles: Connect these key points with straight lines, forming triangles on the face. These triangles will help you see the proportional relationships between different features. For example, you can use a triangle to compare the width of the forehead with the width of the jaw, or the length of the nose with the length of the chin.
3. Check Horizontal and Vertical Alignments: Use horizontal and vertical lines to check if your features are level and aligned correctly. For example, make sure that the eyes are on the same level and that the distance between them is equal to the width of the nose. You can also use these lines to measure how far apart your features are from each other.
4. Adjustment and Refinement: As you draw, keep comparing the angles and distances within your triangles and make adjustments as needed. You can also use curved lines to refine the shape of your features and add details. Remember to check your drawing from different angles and distances to ensure accuracy.
5. Check Negative Spaces: Another useful tip is to pay attention to the negative spaces between your features and use them as reference points. Negative spaces are the shapes that are formed by the spaces around your features, such as between the eyes, nose, and mouth. These shapes can help you maintain symmetry and balance in your drawing.
Why Use the Triangulation Method?
The Triangulation Method is a great tool for portrait drawing because it helps you:
– Draw accurate proportions and avoid distortion
– Capture the unique characteristics of your subject
– Simplify complex shapes into manageable triangles
– Develop your observational skills and eye-hand coordination
The Triangulation Method is not the only method for portrait drawing, but it is one of the most popular and effective ones. Many artists use it or combine it with other methods, such as the Reilly Method or the Loomis Method. The best way to find out what works for you is to experiment and practice regularly.
We hope this blog post has helped you understand what the Triangulation Method and Reilly Method and how you can use it to improve your portrait drawing skills.
Portrait drawing can be fun and rewarding. Don’t get discouraged by mistakes or imperfections. Instead, learn from them and keep trying. Start( https://ashishpatelatelier.com/drawing-courses/) with simple shapes, objects, or scenes that you are comfortable with.
Enjoy the process of creating a likeness and expressing your artistic vision.
If you have any questions or comments, feel free to leave them below. Happy drawing!

Regards
AshishPatelAtelier
